Five stones: Japanese bean bags (a sewing tutorial)
We used to play with bean bags pretty competitively back in primary school. The bean bags had to be *just so* and had to feel great in the hands in order to maximise one’s chances of winning the game. Making your own bean bags was all the rage back then. The shape de rigueur was rectangular (like a pillow) rather than a dumpling-esque (like the ones in this post) but I figured it’d be fantastic to walk down memory lane and make some bean bags.
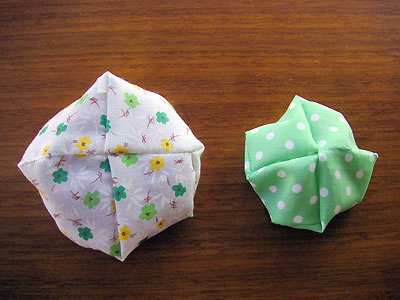
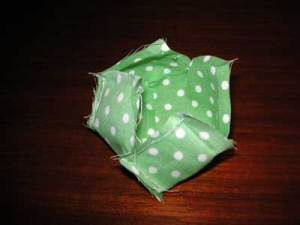
So I made an attempt at making a small bean bag. Somehow, I still ended up with a larger-than-expected bean bag. It’s smaller than Mr Giant Bean Bag (on the left), who has a whole postcode to himself, but still. Can kids play with 5 bean bags of that size? Giant kids, maybe. Grr!
It does look cute, though. Kind of reminds me of Shanghainese dumplings (the tiny ones that have soup and minced meat inside, yum!).
Anyway, I would like to share the pattern for this style of bean bag. Once you get a hang of it, it’ll take you 10 to 15 minutes tops to rustle up one of these baggies!
(Note: I’ve made the measurements smaller, so I hope you end up with small bean bags.)
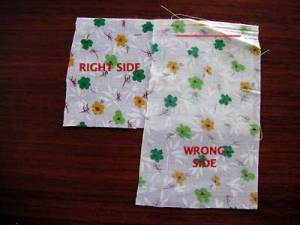
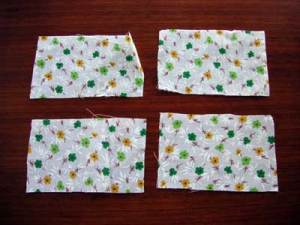
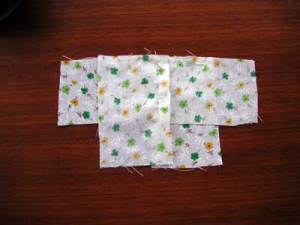
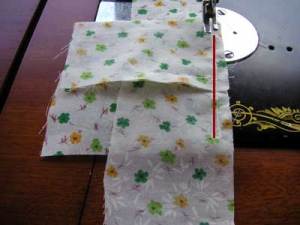
Fig 2: With right sides together, place the fabrics in the shape of an "L", as shown in the photo. Sew along the red line, leaving a seam allowance on both sides. Do the same thing to the other 2 pieces of rectangles.
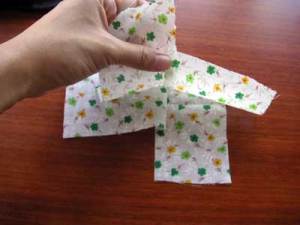
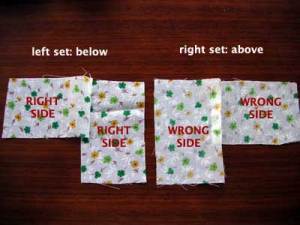
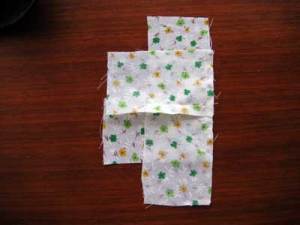
Fig 4: Take the left set, place above and on to the right set. The Right Sides will be together, facing each other. Line up the middle seam neatly (one on top of the other) as in the photo.
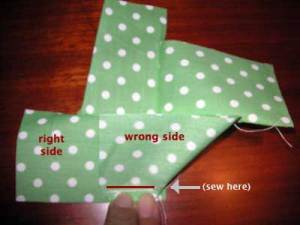
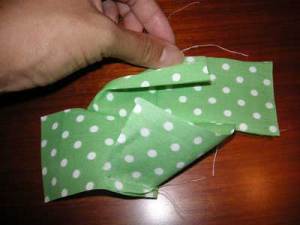
Fig 8: Open up the piece (Right Side up), and you will have one piece, with four "legs" sticking out. Fold up the bottom "leg", as shown. You will see where my fingers are pointing, I have sewn a line, leaving a seam allowance.
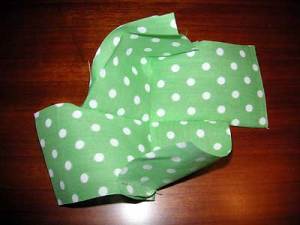
Fig 10: This shows you what it should look like with the top and bottom legs done. Do the same thing to the left and right legs. Flip the piece 90 degrees -- it will help you visualise it better.
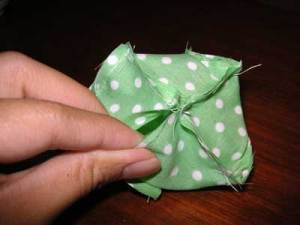
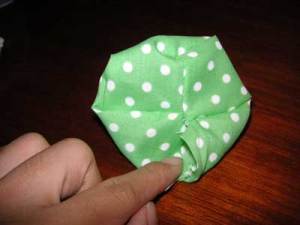
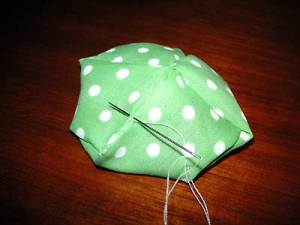
Fig 12: Sew all adjoining sides, leaving the last one open. You have something that looks like a dumpling with a hole. Turn the bag inside out through this opening.
If you make this, tell me about it! If there’s anything unclear or if you need any help, let me know. I’ll try my best to explain it better. Good luck!


myheart4him said,
28 October 2008 at 3:54 am
These are called Otedama. I’ve make a few myself. Mine, too, turned out larger than I expected. I ultimately stuffed mine with polyfill and used them as pin cushions. But, my youngest is back on his juggling jag and wants more juggling balls.
thelongthread.com · Top 100 Tutorials of 2008 said,
5 January 2009 at 2:28 pm
[…] Toadstool Cottage & Mushroom House, The Little House by the Sea Growth Chart, Unraveled Five Stones: Japanese Bean Bags, Honey & Daisy Felted Sweater Animals, Martha Stewart Calico Kitty, Cherryskin Paper […]
thelongthread.com · Top 100 Tutorials of 2008 said,
5 January 2009 at 9:20 pm
[…] Toadstool Cottage & Mushroom House*, The Little House by the Sea Growth Chart, Unraveled Five Stones: Japanese Bean Bags, Honey & Daisy Felted Sweater Animals, Martha Stewart Calico Kitty*, Cherryskin Paper […]
Melynda said,
5 January 2009 at 11:50 pm
Your tutorial is very reminiscent of my Otedama tutorial: http://melyndahuskey.wordpress.com/2007/07/01/basic-otedama-a-tutorial/
Great minds must think alike!
honeyanddaisy said,
10 January 2009 at 3:51 pm
Oh wow! Indeed! 🙂
Top 100 Tutorials of 2008 « shadow and moe said,
16 January 2009 at 5:12 am
[…] Toadstool Cottage & Mushroom House*, The Little House by the Sea Growth Chart, Unraveled Five Stones: Japanese Bean Bags, Honey & Daisy Felted Sweater Animals, Martha Stewart Calico Kitty*, Cherryskin Paper […]
amandabuzard» Blog Archive » Top 100 Tutorials of 2008 said,
27 June 2009 at 7:17 am
[…] Toadstool Cottage & Mushroom House*, The Little House by the Sea Growth Chart, Unraveled Five Stones: Japanese Bean Bags, Honey & Daisy Felted Sweater Animals, Martha Stewart Calico Kitty*, Cherryskin Paper […]
Replrica Handbags said,
20 April 2010 at 3:08 pm
Hello nice blog im from Bradford i found this on yahoo I seen it on the top ten searches i found this blog very interesting good luck with it i will return to this blog soon
Juliana Choo said,
20 April 2010 at 10:34 pm
Cool, thanks for visiting!